Our Roofing Process
Learn more about our comprehensive roofing installation process.
Step 1: Preparation
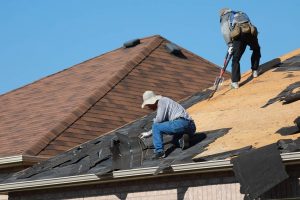
During our preparation stage, we install boards, tarps, and plywood. We take every precaution to ensure your home, your neighbour’s home, your gardens, and your bushes are all protected while the job is in process.
We will remove all existing roofing material, right down to the roof deck, into a supplied bin.
Step 2: Installation
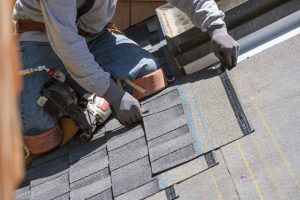
The installation stage includes the installation of the leak barrier around the perimeter of the roof. The next step is to install the underlayment to protect the roof deck.
A typical roof valley will show varying levels of deterioration after 10 years. A George Kent roof valley will not show signs of deterioration and carries the same warranty as the rest of the roof.
Step 3: Ventilation
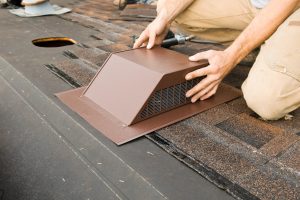
Proper ventilation is a major component of a properly installed roof. If a roof is improperly ventilated, it can cause ice formation on the roof during the winter, which can damage the roof and eavestroughs.
The building code identifies what the ventilation requirements are and how to properly determine the number and placement of roofing ventilation.
Step 4: Flashing
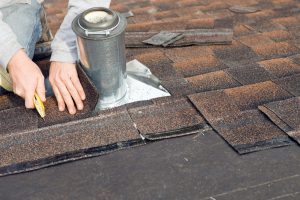
Flashing is a type of weatherproofing placed around objects that protrude from the surface of the roof, in order to prevent water from getting into the home via the joining section.
In this stage, we will replace all roof flashing including wall flashing, step and counter flashing, chimney flashing, and plumbing stack flashing.
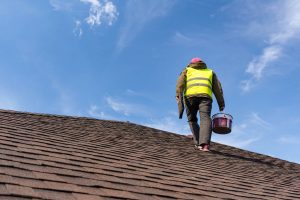
Step 5: Final Cleanup
Once we’ve completed your roofing installation, our team will do a comprehensive cleanup. The old roofing material is taken away, protective equipment is removed, and we perform a magnetic sweep of the lawns, gardens, and driveway to collect any stray materials.
Get a Quote
Professional roofing services and roofing installations for your home.


